
Upgrading or replacing the stereo in your 2000 Chevy Silverado involves understanding the wiring diagram and color codes. This guide will help you navigate through the process with ease.
Understanding the Wiring Color Codes
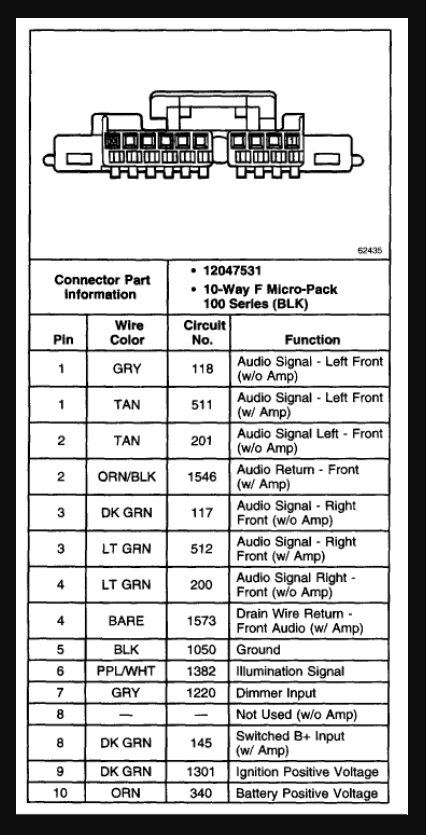
The wiring color codes for the 2000 Chevy Silverado are essential for ensuring that you connect the right wires for power, ground, and speakers. Here is a breakdown of the color codes:
- Battery (12V Constant Power): Red/White
- Accessory (Switched 12V Power): Red
- Ground: Black
- Illumination: Orange
- Antenna Remote: Blue
- Remote Signal for Amplifier: Blue with White Stripe
- Front Right Speaker (+): Gray
- Front Right Speaker (-): Gray with Black Stripe
- Front Left Speaker (+): White
- Front Left Speaker (-): White with Black Stripe
- Rear Right Speaker (+): Purple
- Rear Right Speaker (-): Purple with Black Stripe
- Rear Left Speaker (+): Green
- Rear Left Speaker (-): Green with Black Stripe
These color codes ensure that your stereo connects properly with your vehicle’s electrical system.
Pre-Installation Checklist
Before you begin the installation process, make sure you have everything ready:
- Verify Wiring Diagram: Ensure you have the correct wiring diagram for your Silverado.
- Gather Tools: Have all necessary tools, such as screwdrivers, wire strippers, and electrical tape.
- Disconnect Battery: Always disconnect the negative battery terminal to prevent any electrical shorts.
- Check Compatibility: Ensure your new stereo is compatible with your vehicle.
Step-by-Step Wiring Guide
Follow these steps to install your new stereo:
Step 01 – Remove the Old Stereo:
- Carefully remove the dashboard panel to access the stereo.
- Unscrew and pull out the old stereo unit.
Step 02 – Identify Wires:
- Use the wiring color codes to identify each wire.
- Label the wires if necessary for easier connection.
Step 03 – Connect the New Stereo:
- Match each wire from the new stereo to the corresponding vehicle wire using the color codes.
- Use wire connectors or solder and wrap with electrical tape to secure the connections.
Step 04 – Secure Connections:
- Ensure all connections are tight and secure to prevent any loose wires.
Step 05 – Test the Stereo:
- Before reassembling the dash, test the stereo to ensure it works correctly.
- Check for proper power, sound from all speakers, and functionality of the radio and other features.
Step 06 – Reassemble the Dash:
- Once everything works correctly, reassemble the dash components.
4. Troubleshooting Common Issues
Even with careful installation, you might encounter some issues. Here are common problems and their solutions:
Audio Problems
No Sound:
- Check all wire connections.
- Ensure the speakers are properly connected.
Distorted Sound:
- Verify speaker connections and ensure no wires are touching.
- Check the ground connection for any issues.
Radio Reception Issues:
- Make sure the antenna wire is securely connected.
- Inspect the antenna for damage.
Electrical Problems
Stereo Won’t Turn On:
- Check the battery and accessory wires for proper connection.
- Ensure the ground wire is securely connected.
Blown Fuses:
- Verify all connections to prevent shorts.
- Replace any blown fuses and recheck wiring.
5. Enhancing Your Silverado’s Audio Experience
Upgrading your Silverado’s audio system can significantly enhance your driving experience. Consider these upgrades:
- New Speakers: High-quality speakers can improve sound clarity.
- Subwoofer: Adds depth and richness to your music.
- Amplifier: Boosts audio signals for better sound quality.
- Modern Receiver: Offers better connectivity options like Bluetooth and USB ports.
FAQs
Q1: What does each wire color mean?
A: The color codes indicate different functions, such as red for battery, black for ground, gray for front right speaker positive, and so on.
Q2: What if the colors don’t match my aftermarket stereo?
A: Use an adapter harness or consult the stereo’s manual to match the colors correctly.
Q3: Can mismatched wires damage the stereo?
A: Yes, incorrect connections can blow fuses or damage the stereo.
Q4: How often should I check my stereo wiring?
A: Regular checks during routine maintenance are advisable to ensure all connections remain secure.
Q5: What should I do if my stereo stops working?
A: Recheck all connections against the wiring diagram and inspect for any blown fuses or loose wires.
Conclusion
Upgrading the stereo in your 2000 Chevy Silverado can be straightforward if you understand the wiring diagram and color codes. By following the steps outlined and ensuring all connections are secure, you can enjoy an enhanced audio experience on the road. Regular maintenance and addressing issues promptly will keep your stereo system running smoothly.
Why Is My Car AC Compressor Making a Clicking Noise?
vehq